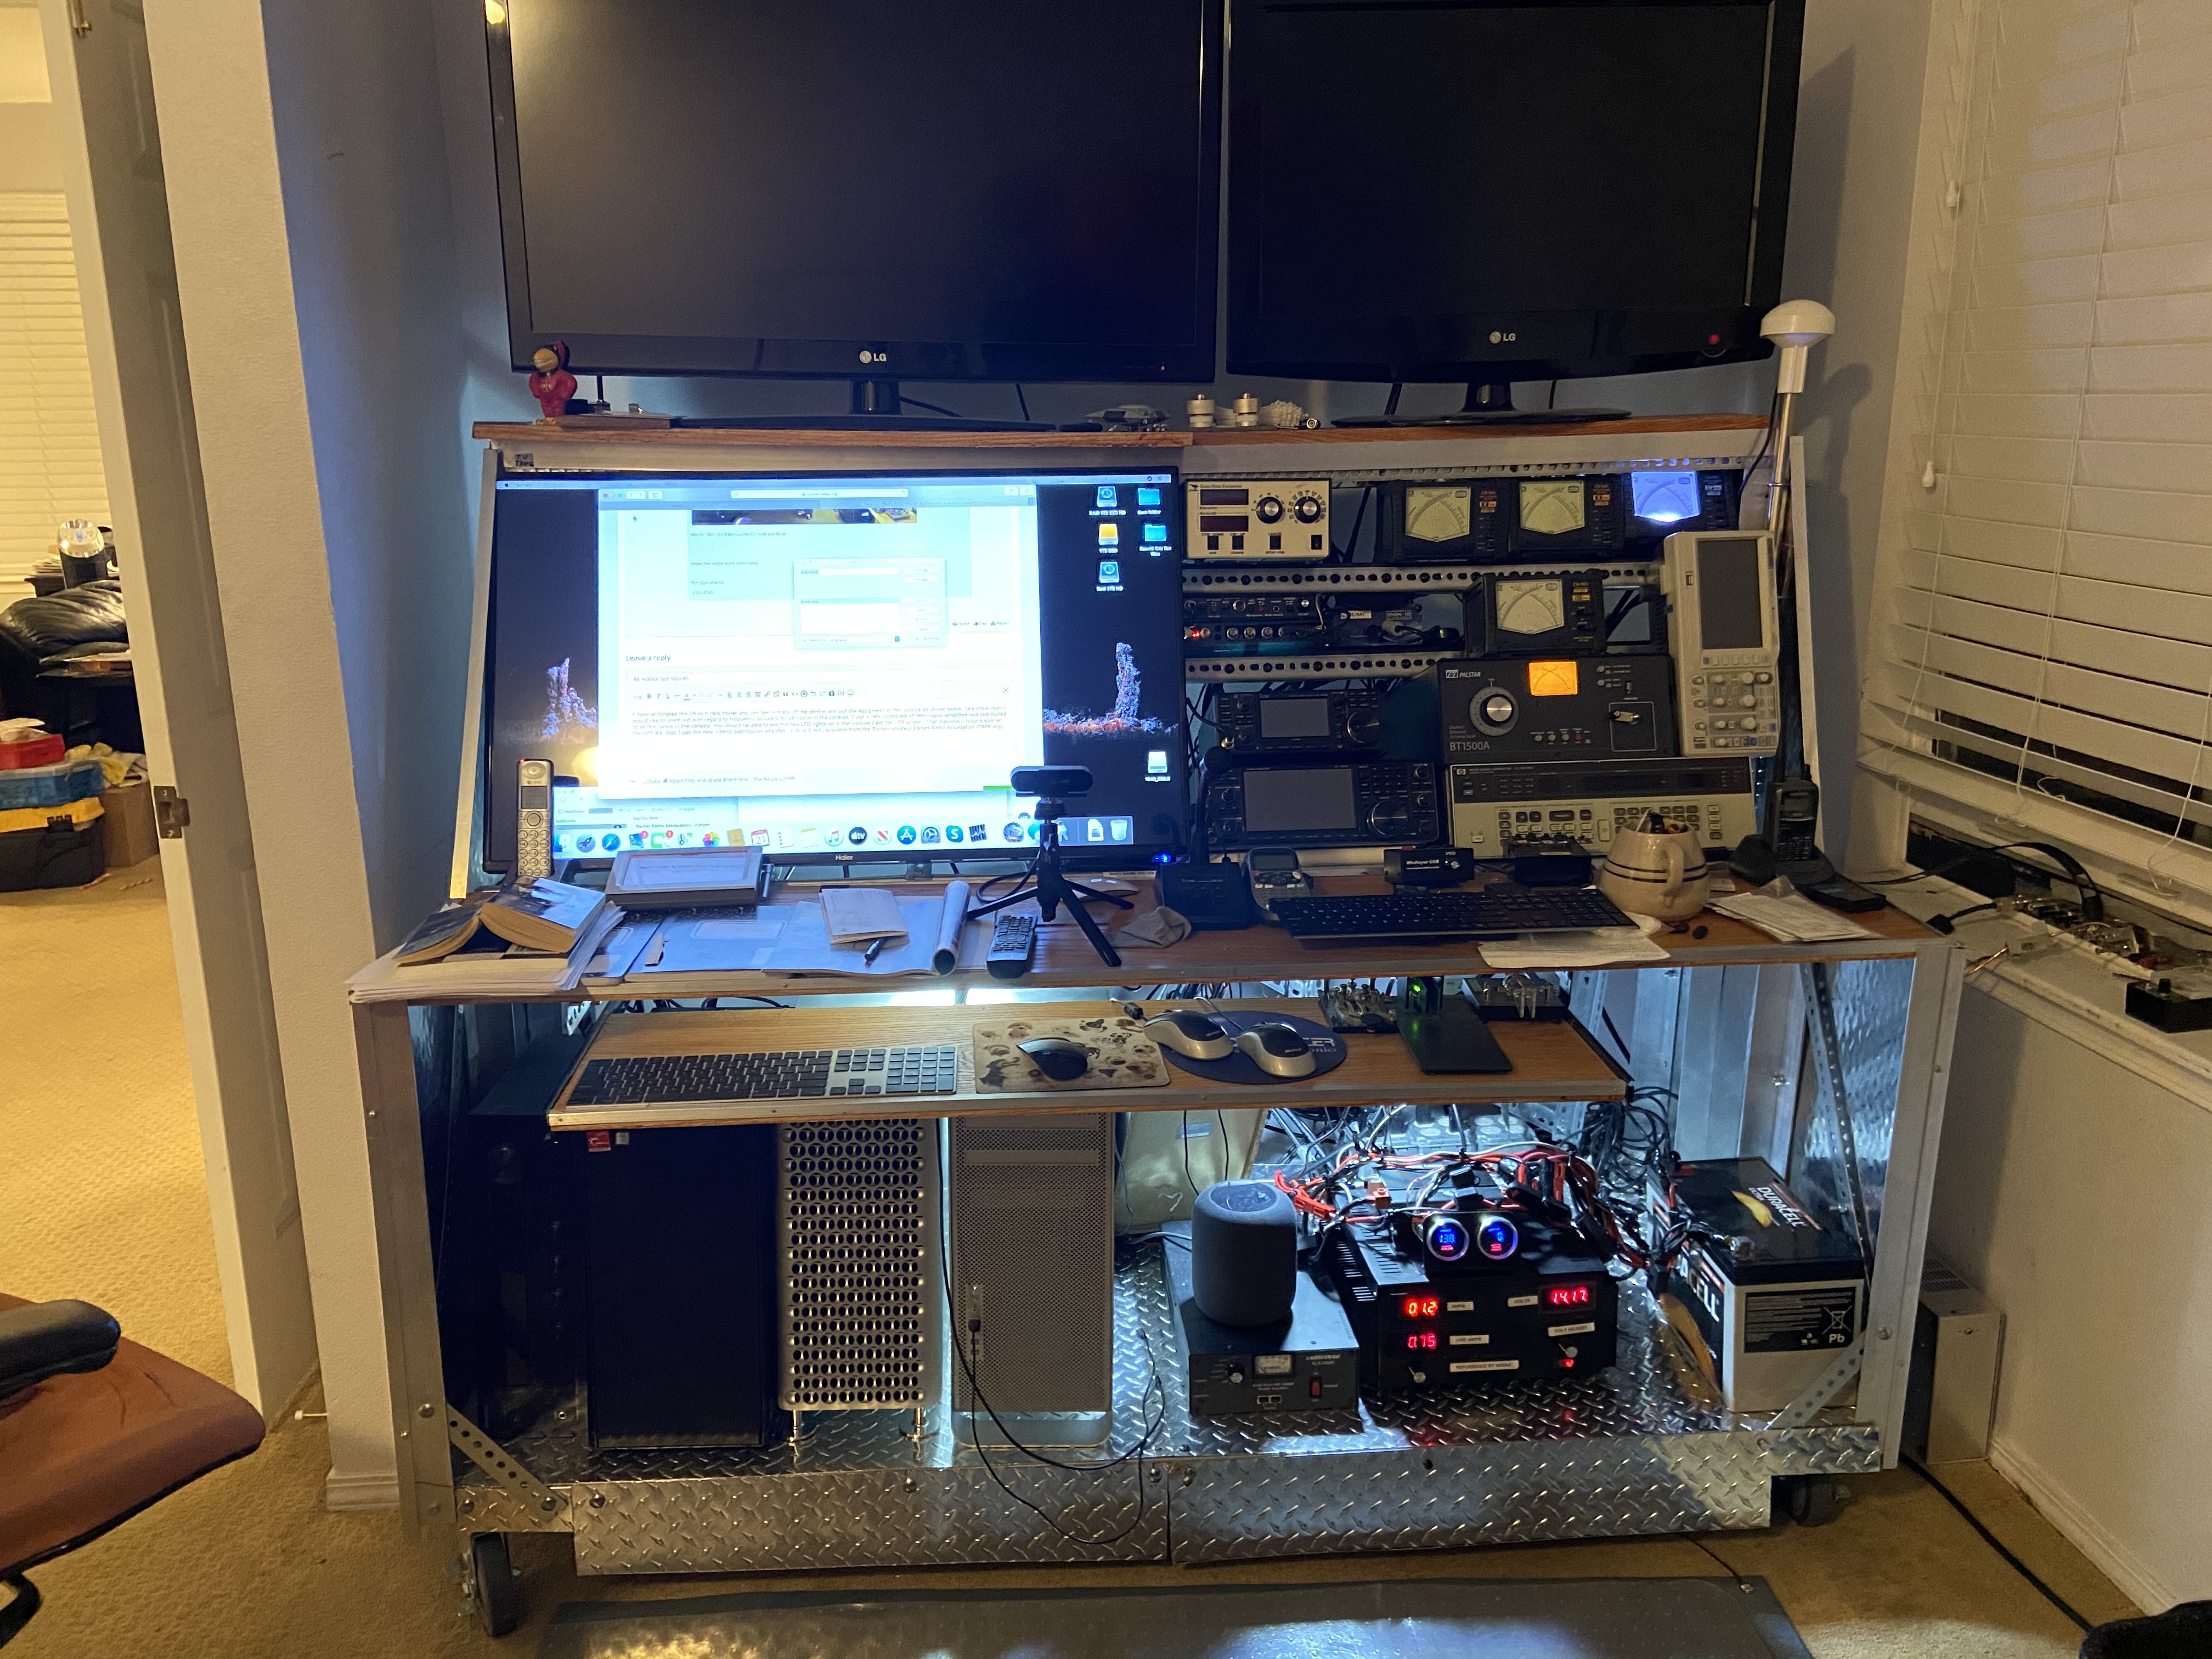

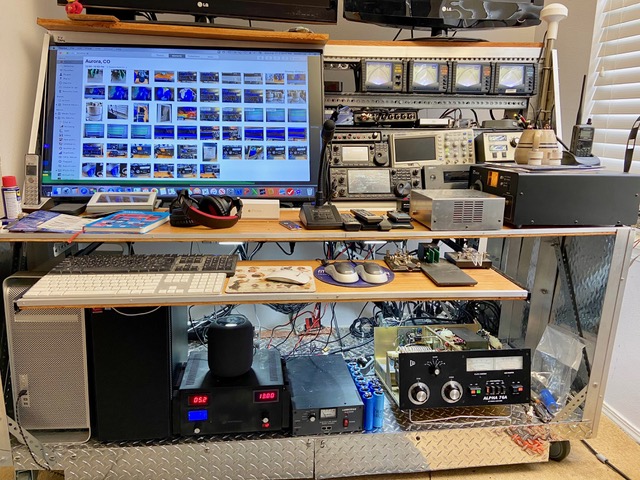
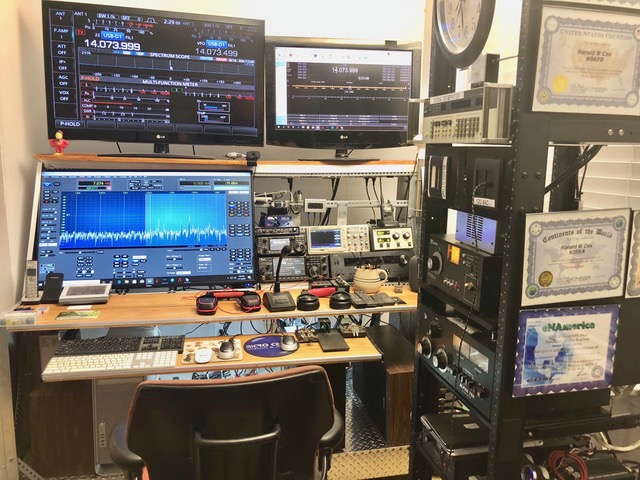
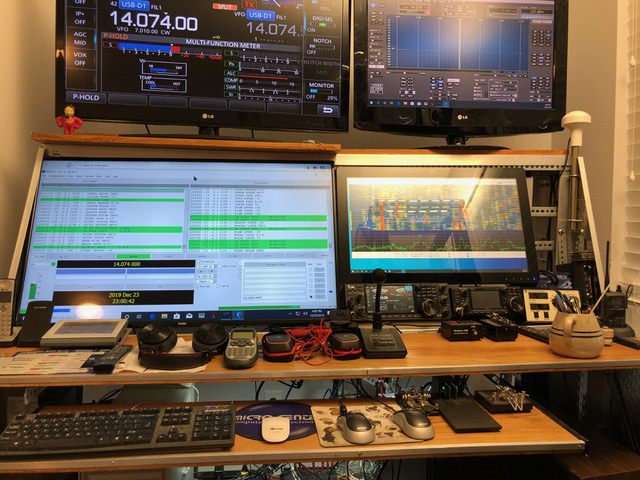
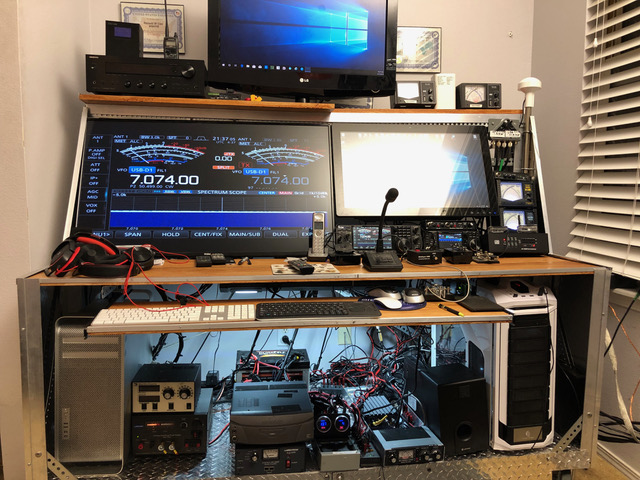
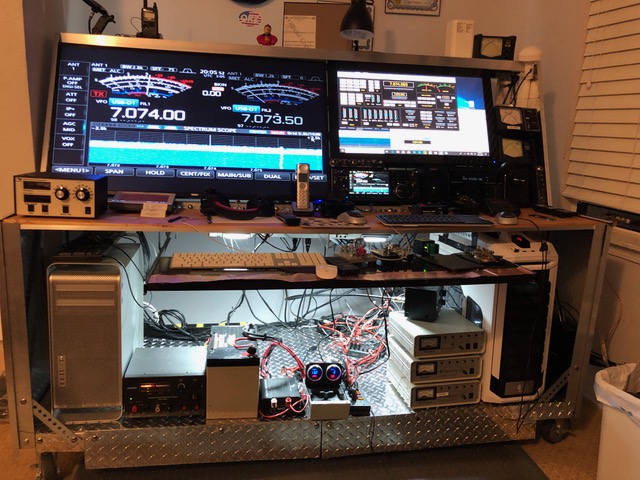
PRA Elmer CommitteeK0EKA Tech Note #6Building your own console for the Ham ShackIf you need help with any items described here, ask an Elmer at the monthly PRA Elmer tech night!Over the years I have owned 6 different homes in 3 states, Indiana (4), Michigan(1), and California(1). With every move I put up just about every type of wire antenna known to man, plus helixes, verticals, and a couple of AZ/EL satellite tracking antennas. I have also tried many different Ham Shack layouts and am still constantly modifying the one I have now as I can always make ergonomic improvements. In January 2019, fed up with trying to purchase commercial solutions in the way of desks and consoles, I decided that I would build my own console with no limit on the expenses, and make an ideal modern communications console.My shack (my bedroom) had a 7 ft by 2.5 ft space next to a double door entrance. To be able to get the console in and out of the house through doors, I set the depth of the console to 31 inches. I put a brace on the back of the console which added another inch to the depth, but I still think I can get it out the door I may have to take the door and/or the brace off to remove it from the house. I decided to build the console from metal except for the writing surfaces. This would provide a ground plane under each piece of gear, and also provide antistatic feature for protecting the equipment during the dry winter months. My first Home Depot purchase was large casters for the four corners. I got the large 500 Lb rated ones, the largest they have. From the casters up, I built a large very strong steel frame using steel 6’X 2"X2" L brackets from Home Depot. Cross brace with steel brackets for the most rigidity. In retrospect the 6 foot span is still a bit too long for heavy amplifiers and heavy linear power supplies, and two heavy computers that it will be required to carry in addition to the metal of the consoles upper structure. Two more casters in the center would help prevent any middle sag due the all the weight. At first I used pine boards for the writing surfaces, but they sagged after use, so I replaced them all with varnished oak boards. No problem with sag after that. The oak boards under the LCD monitors were placed high enough so that my Mac Pro and PC would fit under a pull out Keyboard and mouse surface also made of the oak planks. The upper part of the console was inspired by installing a 40” 400K LCD monitor. See the photos below for the evolution of the console.February 17th, 2020January 11th, 2020January 11th, 2020 Rear ViewDecember 23rd, 2019June 12th, 2020 Oak Boards InstalledApril 28th, 2020 With Sagging Pine BoardsMarch 12th, 2020March 18th, 2018 Before the Console was BuiltHope this might spark some ideas!Ron Cox K0EKA3/26/2020

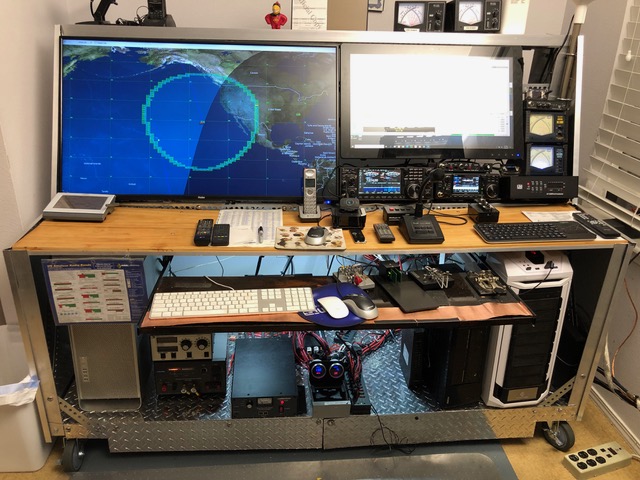
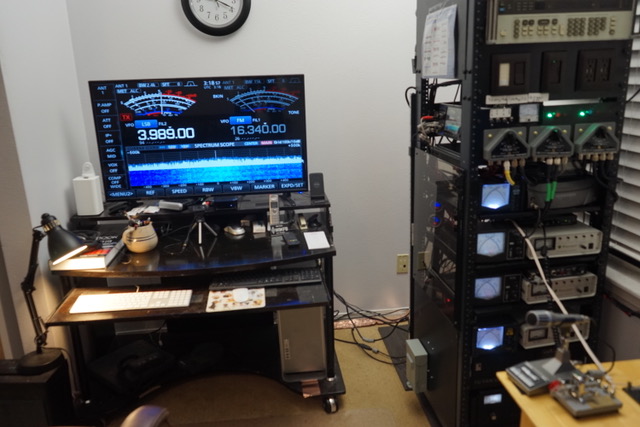


I have eliminated the 19 inch rack/tower you can see in many of the photos and put the equipment in the console as shown below. One other item I would like to point out with regard to frequency accuracy for all radios in the console. I use a GPS controlled 10 MHz signal amplified and distributed to all the radios in the console. You should be able to see the two LED lights on in the console next the LCD screen. That indicates I have a lock on the GPS RX. Also I use the new 10MHz distribution amplifier (1 in to 6 out) available from the Tucson Amateur Packet Radio Association (TAPR.org).
I have eliminated the 19 inch rack/tower you can see in many of the photos and put the equipment in the console as shown below. One other item I would like to point out with regard to frequency accuracy for all radios in the console. I use a GPS controlled 10 MHz signal amplified and distributed to all the radios in the console. You should be able to see the two LED lights on in the console next the LCD screen. That indicates I have a lock on the GPS RX. Also I use the new 10MHz distribution amplifier (1 in to 6 out) available from the Tucson Amateur Packet Radio Association (TAPR.org).